
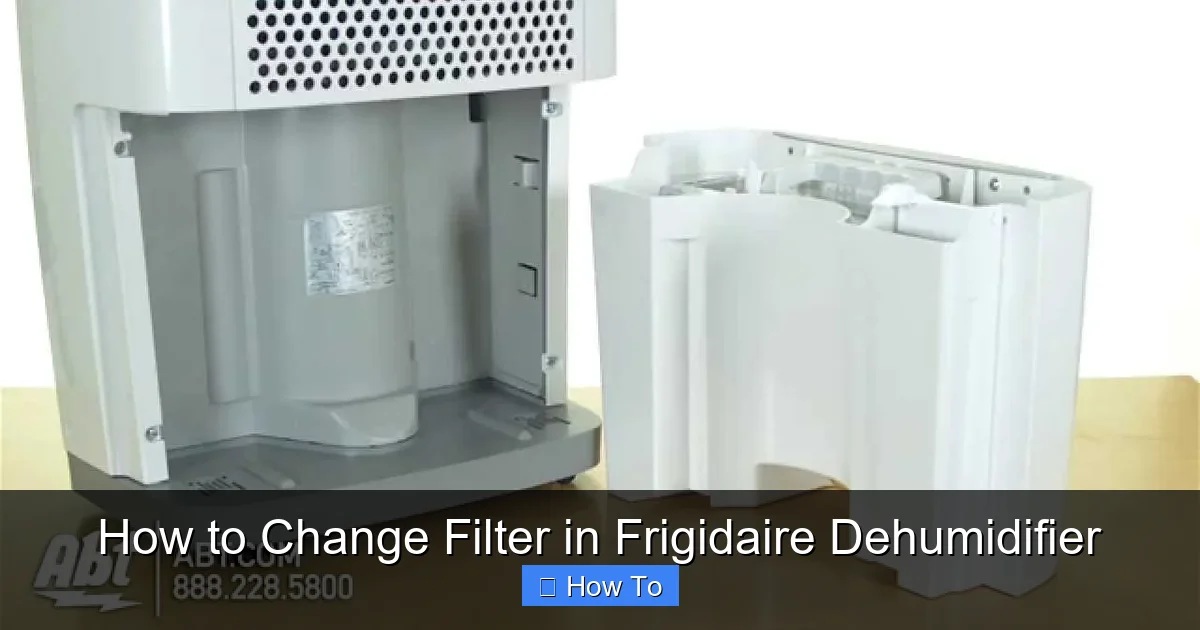
Changing the filter in your Frigidaire dehumidifier is a simple but essential maintenance task that ensures optimal performance and cleaner air. This guide walks you through the entire process, from locating the filter to installing a new one, with helpful tips and troubleshooting advice.
Quick Answers to Common Questions
Tip/Question?
How often should I change my Frigidaire dehumidifier filter?
Check the filter every 2–4 weeks. Replace or clean it when it looks dirty or every 1–3 months, depending on usage and air quality.
Tip/Question?
Can I use a generic filter instead of a Frigidaire brand?
It’s not recommended. Generic filters may not fit properly or filter effectively, reducing performance and potentially damaging the unit.
Tip/Question?
My filter is washable—can I clean it with a vacuum?
Yes, you can gently vacuum the surface to remove loose dust, but for a deep clean, rinse it with water and let it air dry completely.
Tip/Question?
Why is my dehumidifier making noise after changing the filter?
The filter may not be seated properly, or the front panel isn’t securely closed. Double-check the installation and reattach the grille.
Tip/Question?
How do I find the correct replacement filter for my model?
Check the user manual, the old filter’s frame, or Frigidaire’s website using your model number (usually found on a label on the back or bottom).
How to Change Filter in Frigidaire Dehumidifier
Keeping your Frigidaire dehumidifier in top working condition doesn’t require a technician—just a little regular care. One of the most important maintenance tasks is changing or cleaning the air filter. Over time, the filter collects dust, pet dander, mold spores, and other airborne particles. If left unchanged, a clogged filter can reduce airflow, strain the motor, and even lead to mold growth inside the unit. Worse, it can circulate dirty air back into your home.
In this comprehensive guide, you’ll learn exactly how to change the filter in your Frigidaire dehumidifier—step by step. Whether you’re a first-time user or just need a refresher, we’ll cover everything from identifying your model type to safely installing a new filter. You’ll also get practical tips for maintaining your dehumidifier, troubleshooting common issues, and maximizing its lifespan. By the end, you’ll feel confident performing this simple yet vital task on your own.
Why Changing the Filter Matters
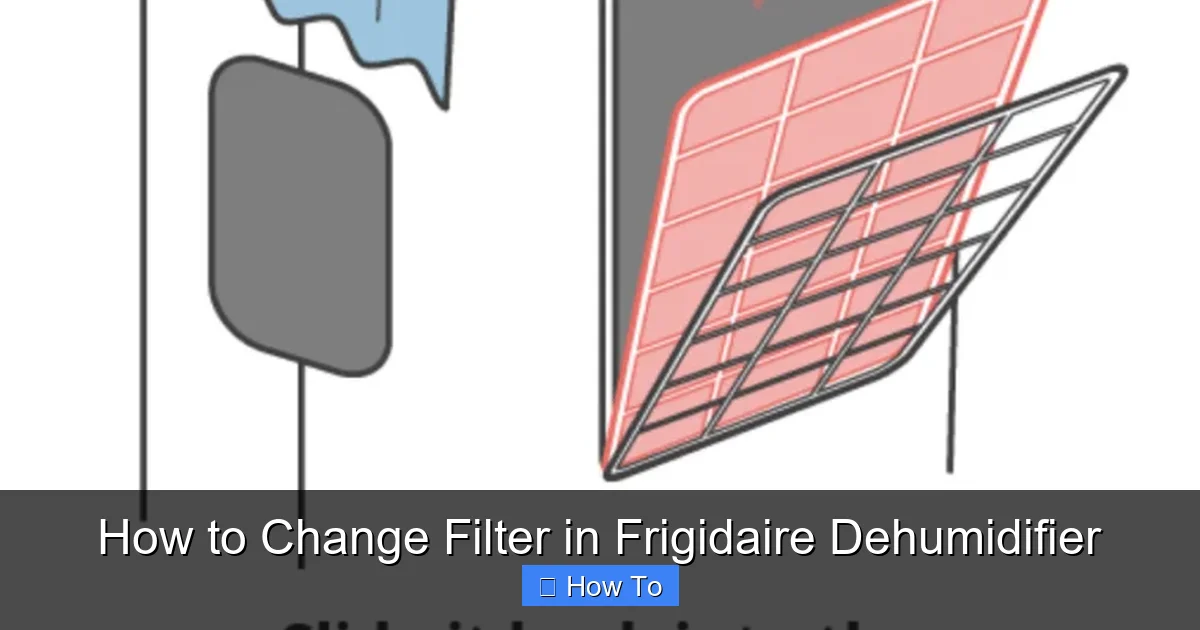
Visual guide about How to Change Filter in Frigidaire Dehumidifier
Image source: housefresh.com
Before diving into the steps, it’s important to understand why filter maintenance is so crucial. The air filter in your Frigidaire dehumidifier acts like a gatekeeper. As air is pulled into the unit to remove moisture, the filter traps contaminants before they reach the internal components. This protects the coils, fan, and motor from damage and ensures the air released back into your room is clean.
When the filter becomes dirty or clogged, several problems can occur:
– Reduced dehumidifying efficiency
– Increased energy consumption
– Overheating of the unit
– Musty odors or mold growth
– Poor indoor air quality
In high-humidity environments—like basements, laundry rooms, or bathrooms—the filter can get dirty faster. Pet owners and allergy sufferers should be especially diligent, as pet hair and allergens quickly accumulate on the filter.
By changing or cleaning the filter regularly, you not only maintain performance but also extend the life of your dehumidifier. It’s a small effort that pays big dividends in comfort, air quality, and appliance longevity.
Tools and Supplies You’ll Need
Thankfully, changing the filter in a Frigidaire dehumidifier requires minimal tools. Most of what you need is probably already in your home. Here’s a quick checklist:
- Replacement filter: Make sure it’s compatible with your specific Frigidaire model. Check the user manual or the existing filter for part numbers.
- Soft cloth or sponge: For wiping down the filter housing.
- Mild soap and water: Only if cleaning a reusable filter.
- Dry towel: To dry the filter or housing after cleaning.
- Screwdriver (optional): Some models may have a small screw securing the front panel.
Always purchase filters from reputable sources. While third-party filters may be cheaper, they often don’t fit as well or filter as effectively. Genuine Frigidaire filters are designed to meet the exact specifications of your unit, ensuring optimal performance and safety.
Step 1: Turn Off and Unplug the Dehumidifier
Safety should always come first. Before you do anything else, make sure your dehumidifier is completely powered down.
Why This Step Is Important
Even though you’re only changing the filter, the unit contains electrical components and moving parts. Accidentally turning it on while the filter is removed could cause injury or damage.
How to Do It
- Locate the power button on the control panel and press it to turn off the unit.
- Unplug the power cord from the wall outlet. Don’t just rely on the switch—physically disconnecting the cord ensures no power is flowing.
- If your model has a water tank, consider emptying it first to avoid spills when moving the unit.
Give the unit a minute to cool down if it’s been running recently. This prevents burns from warm internal parts and makes handling easier.
Step 2: Locate the Filter
Frigidaire dehumidifiers typically have the air filter located behind the front grille or access panel. The exact location can vary slightly depending on the model, but here’s how to find it.
Common Filter Locations
- Front panel: Most models have a removable front grille that swings open or lifts off. The filter sits directly behind it.
- Side panel: Some compact or portable models place the filter on the side for easier access.
- Top or bottom: Rare, but a few models have filters in less common spots.
How to Access the Filter
- Look for a latch, tab, or screw holding the front grille in place. Many models have a simple push-tab that releases when pressed.
- Gently pull the grille outward. It may swing open on hinges or lift straight off.
- If there’s a screw, use a Phillips or flathead screwdriver to remove it before pulling the panel.
- Once the grille is off, you should see the filter—usually a rectangular mesh or pleated panel.
If you’re unsure, consult your user manual. Frigidaire provides model-specific diagrams that show exactly where the filter is located.
Step 3: Remove the Old Filter
Now that you’ve accessed the filter, it’s time to take it out.
Handling the Filter Carefully
– Avoid shaking or tapping the filter too hard, as this can release trapped dust into the air.
– If the filter is very dirty, consider wearing a dust mask to avoid inhaling particles.
Steps to Remove
- Gently grasp the filter by its edges. Most filters have a frame or handle to make removal easier.
- Slide the filter straight out of its slot. Don’t force it—if it’s stuck, double-check that the grille is fully removed.
- Inspect the filter. Is it reusable (washable) or disposable? Reusable filters are often made of foam or fine mesh. Disposable ones are usually pleated paper or non-woven fabric.
If your filter is reusable, you can clean it instead of replacing it. We’ll cover that in the next section. If it’s disposable or too damaged to clean, proceed to replace it.
Step 4: Clean or Replace the Filter
This step depends on the type of filter your Frigidaire dehumidifier uses.
For Reusable (Washable) Filters
If your filter is labeled as washable or reusable, you can clean it with water.
- Rinse the filter under lukewarm water. Use a gentle stream—high pressure can damage the mesh.
- If there’s stubborn dirt, soak the filter in a mixture of mild soap and water for 10–15 minutes.
- Gently scrub with a soft sponge or cloth. Avoid harsh brushes or abrasive cleaners.
- Rinse thoroughly to remove all soap residue.
- Shake off excess water and let the filter air dry completely—usually 4–6 hours. Never reinstall a damp filter, as it can promote mold growth.
For Disposable Filters
If your filter is not washable or is damaged (torn, warped, or excessively dirty), it’s time to replace it.
- Take note of the filter’s size, shape, and part number. This helps when ordering a replacement.
- Purchase a genuine Frigidaire filter that matches your model. You can find this information in the user manual or on the old filter’s frame.
- Remove the new filter from its packaging. Check for any protective film or stickers and remove them.
- Ensure the airflow direction arrow (if present) on the new filter matches the orientation of the old one.
Pro Tip: Keep a Spare Filter
It’s smart to keep an extra filter on hand. That way, you can swap it in immediately when the old one gets dirty, without waiting for a delivery.
Step 5: Install the New or Cleaned Filter
With the old filter removed and the new (or cleaned) one ready, it’s time to install.
How to Insert the Filter Correctly
- Hold the filter by its frame, aligning it with the slot in the dehumidifier.
- Slide it in gently, making sure it sits flat and secure. Don’t force it—proper alignment should allow it to glide in smoothly.
- Check that the filter is fully seated and there are no gaps around the edges. A loose filter can allow unfiltered air to bypass it.
- If your model has a filter cover or clip, reattach it to hold the filter in place.
Double-Check Orientation
Some filters are directional—meaning they only work properly when installed in a specific way. Look for an arrow on the filter frame indicating airflow direction. This arrow should point toward the inside of the unit (toward the fan and coils).
Installing the filter backward reduces efficiency and may trigger error codes on some models.
Step 6: Reattach the Front Grille or Panel
Once the filter is securely in place, it’s time to close up the unit.
Steps to Reassemble
- Align the front grille or panel with the dehumidifier.
- If it swings on hinges, gently close it until it clicks into place.
- If it lifts off, slide it back into position and press firmly around the edges to secure it.
- If you removed a screw earlier, reinsert and tighten it—but don’t over-tighten, as this can crack the plastic.
Give the grille a gentle tug to make sure it’s firmly attached. A loose panel can rattle during operation or allow air leaks.
Step 7: Plug In and Test the Unit
Now that everything is back in place, it’s time to power up and test.
How to Safely Restart
- Plug the power cord back into the wall outlet.
- Press the power button to turn on the dehumidifier.
- Set your desired humidity level using the control panel.
- Listen for normal operation—the fan should run smoothly, and you should feel air moving through the vents.
What to Listen and Look For
– Unusual noises: Grinding, rattling, or squealing could indicate the filter isn’t seated properly or something is obstructing the fan.
– Reduced airflow: If the unit seems weaker than before, double-check that the filter is installed correctly and not blocking airflow.
– Error codes: Some models display a “Filter” or “Clean Filter” light. If it stays on, you may need to reset it (see next section).
If everything looks and sounds good, your dehumidifier is ready to go!
Step 8: Reset the Filter Indicator Light (If Applicable)
Many Frigidaire dehumidifiers come with a filter change reminder light. This light turns on after a set number of operating hours to remind you to check or replace the filter.
Why Resetting Matters
If you don’t reset the indicator, it may continue to flash even after you’ve replaced the filter. This can be annoying and may cause you to ignore future alerts.
How to Reset the Light
The reset process varies by model, but here are the most common methods:
- Press and hold the “Filter” or “Clean Filter” button for 3–5 seconds until the light turns off.
- Use the control panel menu: Some models require you to navigate to a settings menu and select “Reset Filter.”
- Unplug the unit for 10 seconds: On older models, a power cycle may reset the timer.
Check your user manual for the exact steps for your model. If the light doesn’t turn off, try repeating the process or consult Frigidaire’s support site.
Maintenance Tips for Long-Term Performance
Changing the filter is just one part of dehumidifier care. To keep your Frigidaire running smoothly, follow these best practices:
Check the Filter Regularly
– Inspect the filter every 2–4 weeks, especially during humid seasons or if you have pets.
– Set a calendar reminder or use a smart plug with scheduling features to track usage.
Clean the Water Tank
– Empty and rinse the tank weekly to prevent mold and bacteria growth.
– Use a mixture of vinegar and water for deep cleaning.
Wipe Down the Exterior
– Use a damp cloth to clean the outside of the unit, including the grille and control panel.
– Avoid harsh chemicals that could damage the plastic.
Keep the Area Clear
– Ensure at least 6–12 inches of space around the dehumidifier for proper airflow.
– Don’t place it against walls, furniture, or curtains.
Schedule Annual Deep Cleaning
– Once a year, consider cleaning the coils and fan blades with a soft brush or vacuum attachment.
– This prevents dust buildup that can reduce efficiency.
Troubleshooting Common Issues
Even with proper maintenance, you might run into problems. Here’s how to handle the most common issues related to filter changes.
Filter Light Won’t Turn Off After Replacement
– Make sure you’ve reset the indicator using the correct method for your model.
– Check that the new filter is the right size and properly installed.
– If the light persists, the sensor may be faulty—contact Frigidaire support.
Unit Isn’t Removing Moisture Effectively
– A dirty filter is the most common cause. Replace or clean it.
– Also check if the room is too large for the unit’s capacity, or if the humidity setting is too high.
Unusual Odors Coming from the Dehumidifier
– This could indicate mold growth inside the unit or tank.
– Clean the filter, tank, and interior with a mild disinfectant.
– Run the unit with a cup of vinegar in the tank to help eliminate odors.
Filter Doesn’t Fit Properly
– Double-check the part number and model compatibility.
– Some filters look similar but have slight size differences.
– Never force a filter—it should slide in easily.
Fan Isn’t Running After Filter Change
– Ensure the unit is plugged in and the power button is on.
– Check that the filter is installed correctly—some models have safety switches that prevent operation if the filter is missing or misaligned.
When to Call a Professional
While filter changes are DIY-friendly, some issues require expert help. Contact Frigidaire customer service or a certified technician if:
– The unit leaks water
– The compressor or fan motor fails
– You smell burning or see smoke
– Electrical components are damaged
Regular maintenance can prevent many of these problems, but don’t hesitate to seek help when needed.
Conclusion
Changing the filter in your Frigidaire dehumidifier is a quick, easy task that makes a big difference in performance and air quality. By following this step-by-step guide, you’ve learned how to safely remove, clean, or replace the filter, reset the indicator light, and maintain your unit for long-term reliability.
Remember: a clean filter means cleaner air, better efficiency, and a longer life for your dehumidifier. Make filter checks a regular part of your home maintenance routine, and your Frigidaire will keep your space comfortable and dry for years to come.
With just a few minutes of effort every few weeks, you’re not only protecting your investment—you’re also creating a healthier, more comfortable living environment. So grab that replacement filter, follow these steps, and breathe easy knowing your dehumidifier is working at its best.