

Adding a pump to your dehumidifier lets you automatically drain water, eliminating the need to manually empty the tank. This guide walks you through choosing the right pump, installing it safely, and troubleshooting common issues—so you can enjoy continuous, hassle-free dehumidification.
Quick Answers to Common Questions
Can I add a pump to any dehumidifier?
Most dehumidifiers can be modified to work with a pump, but check your model first. Units with built-in drain ports are easiest to upgrade.
How high can a condensate pump lift water?
Most pumps can lift water 10–15 feet vertically. Check the specs before buying, especially if you need to pump water up to a sink or window.
Do I need a check valve?
Yes, a check valve prevents water from flowing back into the dehumidifier after pumping, which can cause overflow and damage.
Can I run the pump continuously?
Yes, as long as the discharge hose is properly routed and the pump is maintained. Most pumps are designed for continuous use.
What if my dehumidifier doesn’t have a drain port?
You can drill a small hole in the casing to insert tubing, but this may void your warranty. Use silicone sealant to prevent leaks.
How to Add a Pump to a Dehumidifier
If you’ve ever woken up to a full dehumidifier tank and a soggy basement floor, you know how frustrating it can be. Dehumidifiers are essential for controlling moisture, preventing mold, and improving indoor air quality—but they usually come with one major drawback: you have to empty the water tank regularly. That’s where adding a pump comes in.
By installing a condensate pump, you can automate the drainage process. The pump detects when the tank is full and automatically pumps the water out through a hose, sending it to a floor drain, sink, or even outside your home. This means no more daily checks, no more spills, and no more interruptions in your dehumidifier’s operation.
In this guide, you’ll learn everything you need to know about how to add a pump to a dehumidifier—from choosing the right equipment to installing it safely and maintaining it over time. Whether you’re a DIY beginner or a seasoned home improver, this step-by-step tutorial will help you upgrade your dehumidifier for maximum convenience and efficiency.
Why Add a Pump to Your Dehumidifier?
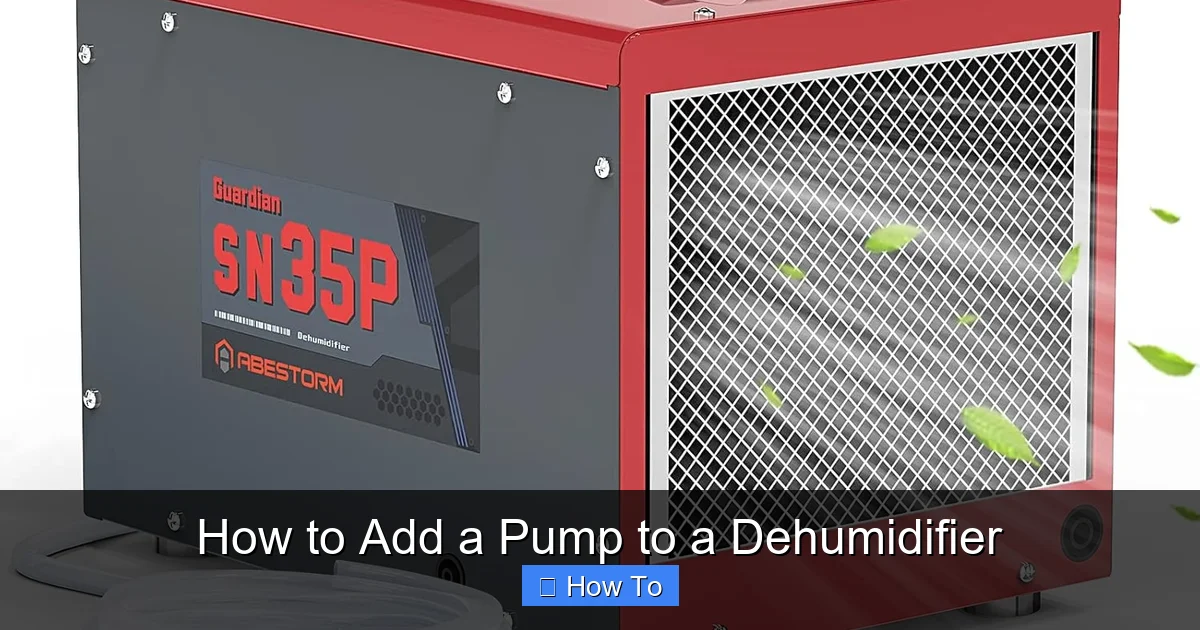
Visual guide about How to Add a Pump to a Dehumidifier
Image source: m.media-amazon.com
Before diving into the installation, it’s important to understand why adding a pump is such a smart move. Most standard dehumidifiers collect moisture in an internal bucket that needs to be manually emptied—usually every 8 to 24 hours, depending on humidity levels and the unit’s capacity.
This manual process is not only inconvenient but can also lead to problems if you forget to empty the tank. When the bucket fills up, the dehumidifier automatically shuts off to prevent overflow. That means your space stays damp, mold can grow, and your energy bills may rise due to reduced efficiency.
A condensate pump solves these issues by providing continuous drainage. Here’s how it helps:
- Eliminates manual emptying: No more lifting heavy, sloshing buckets of water.
- Prevents overflow and water damage: The pump activates when the tank is full, so your floors stay dry.
- Enables 24/7 operation: Your dehumidifier runs nonstop, maintaining optimal humidity levels.
- Ideal for hard-to-reach areas: Perfect for basements, crawl spaces, or closets where access is limited.
- Reduces mold and mildew: Consistent moisture control keeps your home healthier.
Whether you’re dealing with a damp basement, a humid crawl space, or a musty garage, adding a pump can make a big difference in comfort and air quality.
What You’ll Need
Before starting the installation, gather all the necessary tools and materials. Having everything ready will make the process smoother and safer.
Essential Tools and Materials
- Condensate pump: Look for a model with a 1/20 HP motor or higher, a built-in float switch, and a 1/4-inch or 3/8-inch inlet. Popular brands include Little Giant, Aspen, and DiversiTech.
- Vinyl tubing: 1/4-inch or 3/8-inch internal diameter (ID) tubing, about 10–20 feet long, depending on your setup.
- Hose clamps or zip ties: To secure the tubing and prevent leaks.
- Drill and drill bits: For creating a hole in the dehumidifier casing (if needed).
- Screwdriver: Phillips or flathead, depending on your unit.
- Measuring tape: To determine tubing length and pump placement.
- Bucket or container: For testing and temporary water storage.
- Safety gear: Gloves and safety glasses to protect yourself during installation.
Optional but Helpful Items
- Silicone sealant: To waterproof any holes you drill.
- Cable ties or mounting clips: To organize and secure tubing along walls or floors.
- Check valve: Prevents water from flowing back into the dehumidifier after pumping.
- Extension cord: If the pump needs to be placed far from an outlet.
Step 1: Check Your Dehumidifier’s Compatibility
Not all dehumidifiers are designed to work with external pumps. Some models have built-in pump ports, while others require modifications. Before buying a pump, check your dehumidifier’s manual or manufacturer website to confirm compatibility.
Look for a Drain Hose Port
Many modern dehumidifiers come with a built-in drain hose connection—usually a small threaded port on the back or side of the unit. If your model has this feature, you’re in luck. You can connect a hose directly to the port and route it to a drain or pump.
If your dehumidifier doesn’t have a drain port, you’ll need to modify the unit slightly. This typically involves drilling a small hole in the casing to insert tubing into the water collection bucket. While this is doable, it’s more advanced and may void your warranty.
Check the User Manual
The manual will tell you whether your dehumidifier supports continuous drainage and if there are any specific instructions or warnings. Some brands, like Frigidaire or Honeywell, offer pump-ready models with clear guidelines.
If you can’t find the manual, search online using your model number. Most manufacturers provide PDF versions for free.
Consider the Water Collection System
Dehumidifiers use either a removable bucket or a fixed internal tank. Pumps work best with units that have a fixed tank or a bucket that can be modified to allow tubing access. If your bucket is sealed or hard to reach, installation may be more challenging.
Step 2: Choose the Right Condensate Pump
Not all pumps are created equal. Choosing the right one ensures reliable performance and prevents future headaches.
Motor Power
Look for a pump with at least a 1/20 HP (horsepower) motor. This is sufficient for most residential dehumidifiers. Higher horsepower (like 1/10 HP) is better for larger units or longer vertical lifts.
Float Switch
A built-in float switch is essential. It detects when the water level rises and automatically turns the pump on. When the water drains, the float drops and the pump shuts off. This prevents dry running, which can damage the motor.
Inlet and Outlet Size
Match the pump’s inlet size to your tubing. Most dehumidifiers use 1/4-inch or 3/8-inch tubing. The outlet should connect to a standard garden hose or PVC pipe for routing to a drain.
Lift Height
Check the pump’s vertical lift capacity—this is how high it can push water upward. Most pumps can lift 10–15 feet vertically. If you need to pump water up to a sink or out a window, make sure the pump can handle the distance.
Alarm or Overflow Protection
Some pumps include an alarm that sounds if the pump fails or the water level gets too high. This is a great safety feature, especially in basements or unattended areas.
Brand and Warranty
Stick with reputable brands like Little Giant or Aspen. They offer reliable performance and good customer support. Look for a pump with at least a 1-year warranty.
Step 3: Prepare the Dehumidifier
Now that you’ve confirmed compatibility and chosen a pump, it’s time to prepare your dehumidifier for installation.
Unplug the Unit
Safety is critical. Always unplug the dehumidifier from the power outlet before making any modifications. This prevents electrical shock and protects the unit’s internal components.
Empty and Clean the Water Tank
Remove the water bucket and empty it completely. Wash it with warm, soapy water to remove any mold, mildew, or residue. Let it dry thoroughly before reinserting.
Locate the Drain Port or Access Point
If your dehumidifier has a built-in drain port, locate it on the back or side. It’s usually labeled “Continuous Drain” or “Hose Out.”
If there’s no port, you’ll need to access the water collection area. This may involve removing the front panel or back cover. Use a screwdriver to carefully remove screws and set them aside.
Drill a Hole (If Necessary)
If your unit lacks a drain port, you’ll need to drill a small hole in the casing to insert tubing. Use a 1/4-inch or 3/8-inch drill bit, depending on your tubing size.
Choose a spot near the bottom of the water collection area—low enough to drain fully but high enough to avoid interference with internal parts. Drill slowly and carefully to avoid cracking the plastic.
After drilling, use silicone sealant around the hole to prevent leaks and reinforce the opening.
Step 4: Install the Tubing
Proper tubing installation ensures smooth water flow and prevents clogs or leaks.
Cut the Tubing to Length
Measure the distance from the dehumidifier to the pump location. Add a few extra inches for flexibility. Use scissors or a utility knife to cut the vinyl tubing cleanly.
Insert Tubing into the Dehumidifier
If using a built-in drain port, attach one end of the tubing to the port and secure it with a hose clamp. Make sure the connection is tight to prevent leaks.
If you drilled a hole, insert the tubing into the water collection area. Use a zip tie or clamp to secure it in place. Ensure the tube reaches near the bottom of the tank for maximum drainage.
Route the Tubing to the Pump
Run the tubing from the dehumidifier to the pump. Keep the line as straight as possible, with a slight upward slope toward the pump. This helps water flow naturally and prevents airlocks.
Avoid sharp bends or kinks, which can restrict flow. Use cable ties or clips to secure the tubing along walls, baseboards, or under flooring.
Add a Check Valve (Optional but Recommended)
Install a check valve in the tubing near the pump. This one-way valve prevents water from flowing back into the dehumidifier after the pump stops. It’s especially useful if the pump is located below the dehumidifier.
Step 5: Set Up the Condensate Pump
Now it’s time to install and configure the pump.
Choose a Stable Location
Place the pump on a flat, level surface near a power outlet. It should be close enough to the dehumidifier for the tubing to reach but far enough to avoid water splashing on electrical components.
Avoid placing the pump directly on carpet or damp surfaces. Use a small tray or waterproof mat underneath for extra protection.
Connect the Tubing
Attach the free end of the tubing to the pump’s inlet port. Secure it with a hose clamp to prevent leaks. Make sure the connection is snug but not over-tightened, which could crack the plastic.
Connect the Discharge Hose
Attach a second piece of tubing (or a garden hose) to the pump’s outlet. Route this hose to a floor drain, sink, laundry tub, or outside. Ensure the discharge end is lower than the pump to allow gravity-assisted drainage.
Plug in the Pump
Connect the pump to a grounded electrical outlet. Avoid using extension cords unless absolutely necessary. If you must use one, choose a heavy-duty, outdoor-rated cord.
Step 6: Test the System
Before declaring victory, it’s crucial to test the entire setup.
Fill the Dehumidifier Tank
Pour a small amount of water into the dehumidifier’s collection bucket or tank. This simulates a full tank and triggers the pump.
Observe the Pump
Watch to see if the float switch rises and activates the pump. You should hear the motor start and see water flowing through the tubing.
If the pump doesn’t turn on, check the following:
- Is the pump plugged in?
- Is the float switch stuck?
- Is the tubing kinked or blocked?
- Is the water level high enough to trigger the float?
Check for Leaks
Inspect all connections—especially where tubing meets the dehumidifier and pump. Look for drips or wet spots. Tighten clamps or reseal holes if needed.
Run a Full Cycle
Turn on the dehumidifier and let it run for several hours. Monitor the pump to ensure it activates when the tank fills and shuts off when drained.
Troubleshooting Common Issues
Even with careful installation, problems can arise. Here’s how to fix the most common ones.
Pump Doesn’t Turn On
- Cause: Float switch is stuck or not submerged.
- Solution: Gently move the float up and down to free it. Ensure the pump is level and the water reaches the activation point.
Water Leaks from Connections
- Cause: Loose tubing or worn seals.
- Solution: Tighten hose clamps or replace damaged tubing. Use silicone sealant on drilled holes.
Pump Runs Continuously
- Cause: Check valve is missing or faulty, allowing backflow.
- Solution: Install or replace the check valve. Ensure the discharge hose slopes downward.
Pump Makes Noise but Doesn’t Pump
- Cause: Airlock or clog in the tubing.
- Solution: Disconnect the tubing and blow air through it to clear blockages. Ensure the inlet isn’t blocked by debris.
Pump Overflows
- Cause: Discharge hose is blocked or too high.
- Solution: Clear the hose and ensure the discharge end is lower than the pump.
Maintenance Tips for Long-Term Performance
To keep your pump and dehumidifier working smoothly, regular maintenance is key.
Clean the Pump Every 3–6 Months
Turn off and unplug the pump. Remove the cover and clean the reservoir with warm, soapy water. Rinse thoroughly and check the impeller for debris.
Inspect Tubing for Clogs
Disconnect the tubing and flush it with water. Look for mold, slime, or mineral buildup. Replace tubing if it’s brittle or cracked.
Check the Float Switch
Ensure the float moves freely and isn’t stuck in the “on” or “off” position. Clean any buildup that might interfere with movement.
Test the System Monthly
Pour water into the dehumidifier tank to verify the pump activates. This helps catch issues early.
Replace the Pump Every 5–7 Years
Even the best pumps wear out over time. If you notice reduced performance, strange noises, or frequent clogs, it may be time for a replacement.
Conclusion
Adding a pump to your dehumidifier is a smart, cost-effective upgrade that saves time, prevents water damage, and keeps your home drier and healthier. With the right tools, a compatible unit, and careful installation, you can automate drainage and enjoy uninterrupted dehumidification.
From choosing the right condensate pump to testing the system and maintaining it over time, this guide covers everything you need to know. Whether you’re tackling a damp basement or improving air quality in a crawl space, a pump can make all the difference.
Remember: safety first, double-check connections, and don’t hesitate to consult a professional if you’re unsure. With a little effort, you’ll have a hassle-free dehumidifier that works while you sleep.