
Attaching a thermocouple to your dehumidifier allows precise temperature monitoring, improving efficiency and safety. This guide walks you through the process with clear steps, tools, and expert tips to ensure a secure and reliable connection.
Quick Answers to Common Questions
Tip/Question?
Can I use any thermocouple for my dehumidifier?
Not all thermocouples are equal. Use a Type K thermocouple for best results—it’s accurate, affordable, and works well in the temperature range of most dehumidifiers.
Tip/Question?
Where is the safest place to attach the thermocouple?
The evaporator coil is ideal for detecting frost, while the compressor housing is best for monitoring overheating. Avoid moving parts and electrical components.
Tip/Question?
Do I need to solder the wires?
Soldering is optional but recommended for permanent installations. Use heat shrink tubing to insulate the joint and prevent shorts.
Tip/Question?
How do I know if my thermocouple is working?
Test it with a multimeter set to temperature mode. A working thermocouple will show a stable reading that changes with temperature.
Tip/Question?
Can I attach multiple thermocouples?
Yes! You can monitor different zones (e.g., intake, coil, exhaust) by connecting multiple thermocouples to a data logger or controller with multiple inputs.
How to Attach Thermocouple to Dehumidifier
If you’re looking to improve the performance, safety, or monitoring capabilities of your dehumidifier, attaching a thermocouple is a smart move. A thermocouple is a temperature sensor that generates a small voltage based on temperature differences between two dissimilar metals. When properly installed, it can help you track internal temperatures, detect overheating, or integrate your dehumidifier with smart HVAC systems or data logging equipment.
This comprehensive guide will walk you through the entire process of how to attach thermocouple to dehumidifier—from understanding why you’d want one, selecting the right components, preparing your workspace, and executing a safe and effective installation. Whether you’re a DIY enthusiast, a technician, or a homeowner aiming to optimize indoor air quality, this guide has everything you need.
By the end of this article, you’ll know exactly where to place the thermocouple, how to wire it correctly, and how to test it for reliable operation. We’ll also cover common pitfalls, troubleshooting tips, and best practices to ensure your setup lasts and performs well over time.
Why Attach a Thermocouple to a Dehumidifier?
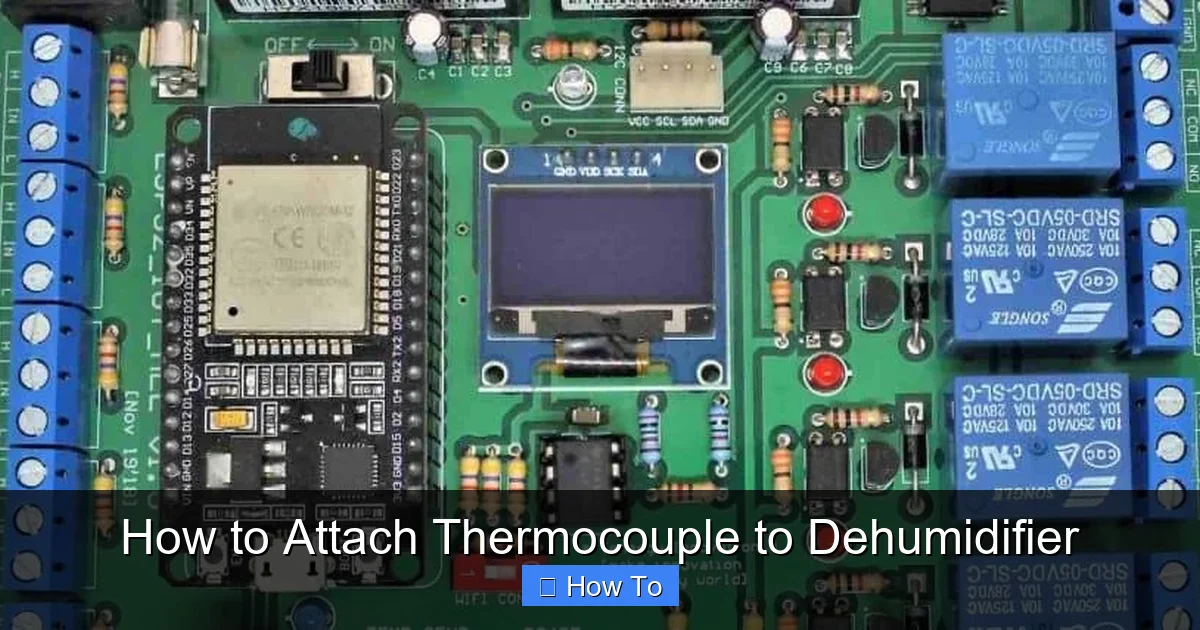
Visual guide about How to Attach Thermocouple to Dehumidifier
Image source: raypcb.com
Before diving into the installation, it’s important to understand why you might want to attach a thermocouple to your dehumidifier in the first place. Dehumidifiers work by pulling in moist air, cooling it to condense moisture, and then reheating it before releasing it back into the room. This cycle involves several temperature-sensitive components, especially the evaporator and condenser coils.
Monitoring these temperatures can help you:
– Detect when the unit is icing up (a common issue in low-temperature environments)
– Prevent overheating of the compressor
– Optimize energy efficiency
– Integrate with automation systems (e.g., turning off the dehumidifier if temps get too high)
– Log performance data for maintenance or diagnostics
A thermocouple provides real-time, accurate temperature feedback, making it a valuable addition for both residential and commercial applications. It’s especially useful in basements, crawl spaces, or server rooms where humidity and temperature control are critical.
Tools and Materials You’ll Need
Before you begin, gather all the necessary tools and materials. Having everything ready will make the process smoother and safer.
Essential Tools
- Screwdrivers (Phillips and flathead)
- Wire strippers
- Electrical tape or heat shrink tubing
- Multimeter (for testing continuity and voltage)
- Needle-nose pliers
- Drill and small drill bits (optional, for mounting)
- Safety gloves and goggles
Materials
- Thermocouple (Type K is most common and versatile)
- Thermocouple wire (if extending the lead)
- Terminal block or connector (if not using direct wiring)
- Zip ties or adhesive mounts (for securing wires)
- Insulation tape or silicone sealant (for moisture protection)
Optional but Helpful
- Thermocouple probe holder or clamp
- Data logger or temperature monitor
- Heat-resistant epoxy (for permanent mounting)
Make sure your thermocouple is rated for the temperature range your dehumidifier operates in—typically between -40°F and 500°F (-40°C to 260°C). Type K thermocouples are ideal because they’re affordable, widely available, and accurate across a broad range.
Step 1: Safety First – Power Down and Prepare
Safety cannot be overstated when working with electrical appliances. Even though thermocouples operate at low voltage, you’re still working near live components inside the dehumidifier.
Turn Off and Unplug the Unit
Before opening any panels, make sure the dehumidifier is completely powered off. Unplug it from the wall outlet. If it’s hardwired, turn off the circuit breaker that supplies power to the unit.
Wait for Components to Cool
If the dehumidifier has been running recently, give it at least 15–30 minutes to cool down. The compressor and coils can get very hot and may cause burns.
Wear Protective Gear
Put on safety gloves and goggles to protect your hands and eyes from sharp edges, dust, or accidental contact with internal parts.
Work in a Clean, Well-Lit Area
Clear a flat workspace near the dehumidifier. Good lighting helps you see small components and wiring clearly. Keep tools organized to avoid misplacing screws or parts.
Step 2: Access the Internal Components
Now that the unit is safe to work on, you’ll need to open it up to locate the best spot for the thermocouple.
Remove the Outer Panels
Most dehumidifiers have a front or side panel held in place by screws. Use a screwdriver to remove them. Keep the screws in a small container so you don’t lose them.
Locate Key Components
Once inside, identify the following:
– Evaporator coil (cold section where moisture condenses)
– Condenser coil (hot section where heat is released)
– Compressor (pumps refrigerant)
– Control board (houses electronics)
The evaporator coil is usually the best location for temperature monitoring because it’s where icing can occur. However, if you’re monitoring for overheating, the compressor or condenser may be better.
Check for Existing Sensors
Some dehumidifiers already have built-in temperature sensors. If so, you may be able to tap into those wires instead of adding a new thermocouple. Check the user manual or look for labeled wires near the coils.
Step 3: Choose the Right Thermocouple Placement
Where you attach the thermocouple is crucial for accurate readings. Poor placement can lead to false data or delayed responses.
Best Locations for Thermocouple Attachment
- Evaporator Coil: Ideal for detecting frost buildup. Attach near the inlet or midpoint of the coil.
- Compressor Housing: Good for monitoring overheating. Avoid direct contact with refrigerant lines.
- Air Intake or Exhaust: Useful for ambient temperature tracking, but less precise for internal diagnostics.
Avoid These Spots
– Near fans or moving parts (risk of wire damage)
– Directly on refrigerant lines (can interfere with insulation)
– Inside sealed electrical compartments (moisture risk)
Secure the Thermocouple Properly
Use a thermocouple clip, high-temperature adhesive, or zip tie to hold the sensor in place. Ensure the sensing tip (the junction of the two wires) is in direct contact with the metal surface for accurate readings. Avoid using regular tape—it can melt or degrade over time.
Step 4: Prepare the Thermocouple Wires
Now it’s time to get the thermocouple ready for connection.
Strip the Wire Ends
Use wire strippers to remove about 1/2 inch (1.25 cm) of insulation from the thermocouple wires. Be careful not to nick the inner conductors.
Twist the Strands
Gently twist the exposed copper strands to prevent fraying. This ensures a solid connection when you attach the wires.
Extend if Necessary
If the thermocouple lead isn’t long enough, use thermocouple extension wire (same type as the sensor) to reach your monitoring device. Splice the wires using a terminal block or solder them together, then insulate with heat shrink tubing.
Label the Wires
Thermocouples have polarity. The positive wire is usually marked (e.g., with a red stripe or label). Label them “+” and “–” to avoid confusion during connection.
Step 5: Connect the Thermocouple to Your Monitoring System
How you connect the thermocouple depends on what you’re using to read the temperature.
Option 1: Direct to a Multimeter
If you’re just testing or spot-checking, plug the thermocouple into a multimeter with a temperature function. Set the meter to the correct thermocouple type (e.g., Type K).
Option 2: To a Data Logger or Controller
Many data loggers and HVAC controllers have thermocouple inputs. Connect the wires to the designated terminals, observing polarity. Tighten the screws securely.
Option 3: To a Custom Circuit
If you’re building a monitoring system, you may need an amplifier or signal conditioner to boost the thermocouple’s low-voltage output. Follow the circuit diagram carefully.
Secure All Connections
Use electrical tape or heat shrink tubing to insulate exposed wires. Prevent short circuits by ensuring no bare metal touches other components.
Step 6: Reassemble the Dehumidifier
Once the thermocouple is installed and connected, it’s time to put everything back together.
Route the Wires Safely
Use zip ties or adhesive mounts to secure the thermocouple wire along the frame. Keep it away from moving parts, sharp edges, and heat sources.
Replace the Panels
Carefully reattach the outer panels and tighten all screws. Make sure no wires are pinched or trapped.
Double-Check Everything
Before plugging in, visually inspect the interior. Ensure all connections are secure, no tools are left inside, and the thermocouple is firmly attached.
Step 7: Test the Installation
Testing is critical to confirm everything works as expected.
Power On the Unit
Plug in the dehumidifier and turn it on. Let it run for a few minutes.
Check Temperature Readings
Use your multimeter, data logger, or controller to verify the thermocouple is providing accurate readings. Compare it to ambient temperature or known values.
Monitor for Abnormalities
Watch for erratic readings, no signal, or sudden spikes. These could indicate a loose connection, incorrect polarity, or sensor damage.
Adjust if Needed
If readings are off, power down and recheck the connections. Ensure the thermocouple tip is making good contact with the surface.
Troubleshooting Common Issues
Even with careful installation, problems can arise. Here’s how to fix the most common ones.
No Temperature Reading
– Check if the thermocouple is properly connected.
– Verify polarity—reversed wires can cause no output.
– Test the thermocouple with a multimeter to ensure it’s functional.
Inaccurate or Fluctuating Readings
– Ensure the sensor is tightly secured and in direct contact with the metal.
– Avoid placing near drafts or heat sources.
– Check for damaged or corroded wires.
Thermocouple Gets Damaged
– Use a protective sleeve or conduit if the wire is exposed to abrasion.
– Avoid sharp bends or pinching during installation.
Unit Won’t Turn On After Installation
– Double-check that no wires are shorting the control board.
– Ensure all panels are properly reassembled and no screws are loose.
Maintenance and Long-Term Care
To keep your thermocouple working reliably, follow these maintenance tips.
Inspect Regularly
Every 3–6 months, open the dehumidifier and check the thermocouple and wiring for signs of wear, corrosion, or loose connections.
Clean the Sensor Area
Dust and debris can insulate the sensor, leading to inaccurate readings. Gently wipe the attachment point with a dry cloth.
Calibrate if Necessary
Over time, thermocouples can drift. Compare readings with a calibrated thermometer and adjust your monitoring system if needed.
Replace When Needed
Thermocouples have a lifespan. If readings become inconsistent or the wire frays, replace the sensor.
Conclusion
Attaching a thermocouple to your dehumidifier is a practical upgrade that enhances monitoring, safety, and efficiency. By following this step-by-step guide, you’ve learned how to safely install, connect, and test a thermocouple for accurate temperature readings. From choosing the right sensor to securing it in the optimal location, every detail matters for reliable performance.
Remember, safety comes first—always disconnect power and wear protective gear. Use the right tools, follow polarity, and test thoroughly. With proper installation and maintenance, your thermocouple will provide valuable data for years to come, helping you maintain ideal humidity levels and prevent equipment issues.
Whether you’re troubleshooting icing problems, building a smart home system, or just curious about your dehumidifier’s performance, this modification puts powerful insights at your fingertips. Now that you know how to attach thermocouple to dehumidifier, you’re ready to take control of your indoor climate like a pro.